Did you know that our West Coast waiparahoaka (glaciers) have UNESCO World Heritage status?
They are classed as having outstanding value to science, and to New Zealand’s natural beauty.
Glacial ice is a different colour from regular ice. It is blue because the thick ice of the glacier absorbs every other colour of the spectrum except blue – so blue is what we see! Make your own blue ice art using your freezer. Follow the step-by-step instructions below:
You’ll need:
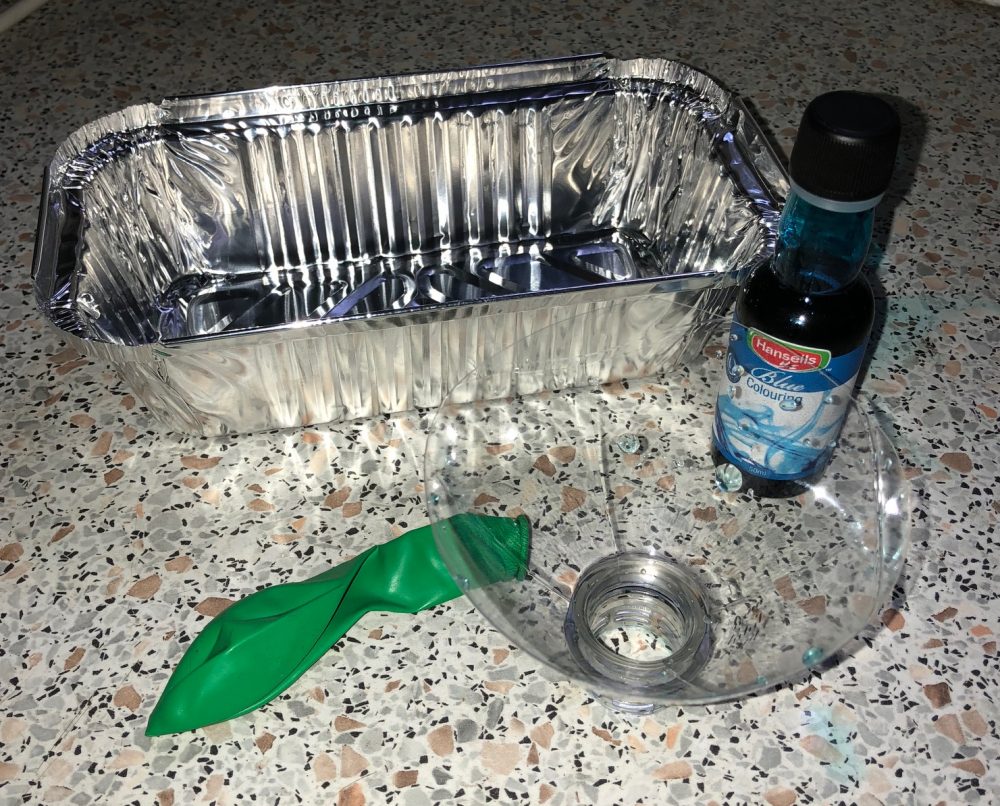
- A round vessel (We used a balloon we already had lying around unused at home – we didn’t buy new ones)
- A funnel (we reused the top of a bottle to make ours)
- Food colouring – one that has a dropper is best
- A tap
- Cold water
- A container to put it in – so you can put it in the freezer, and make your ice have a flat bottom
Step 1:
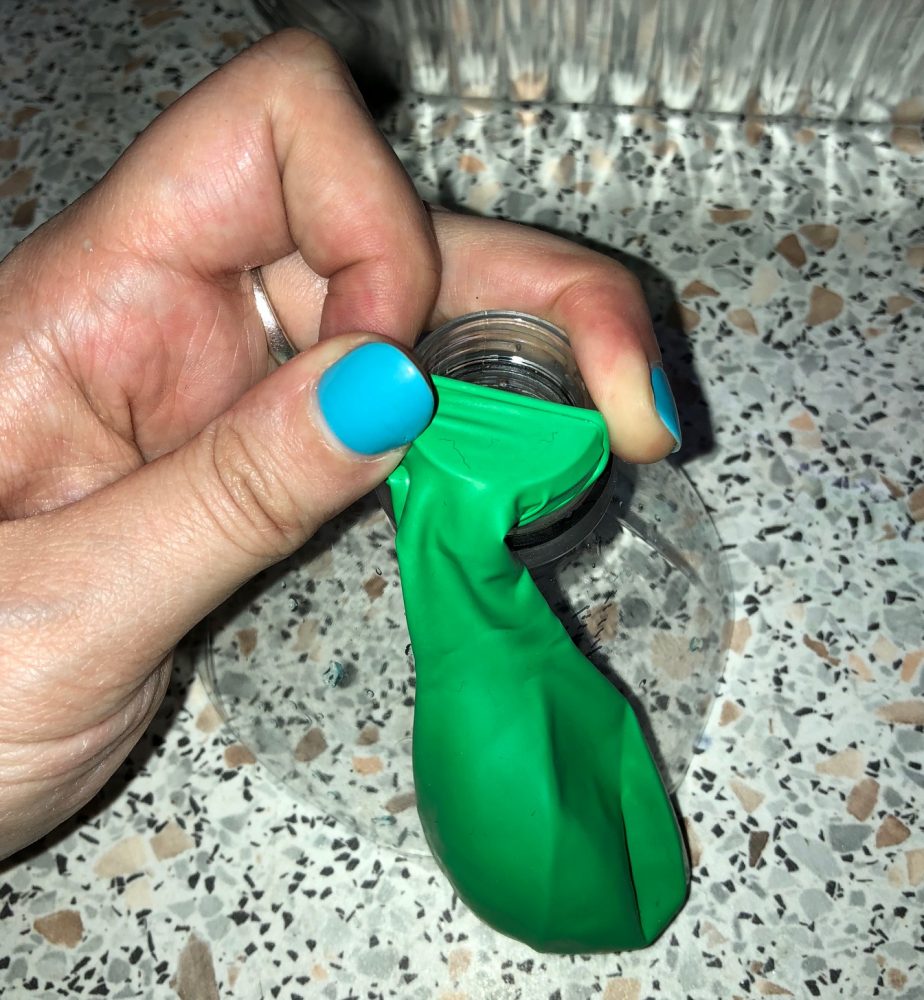
Put the balloon over the end of your funnel
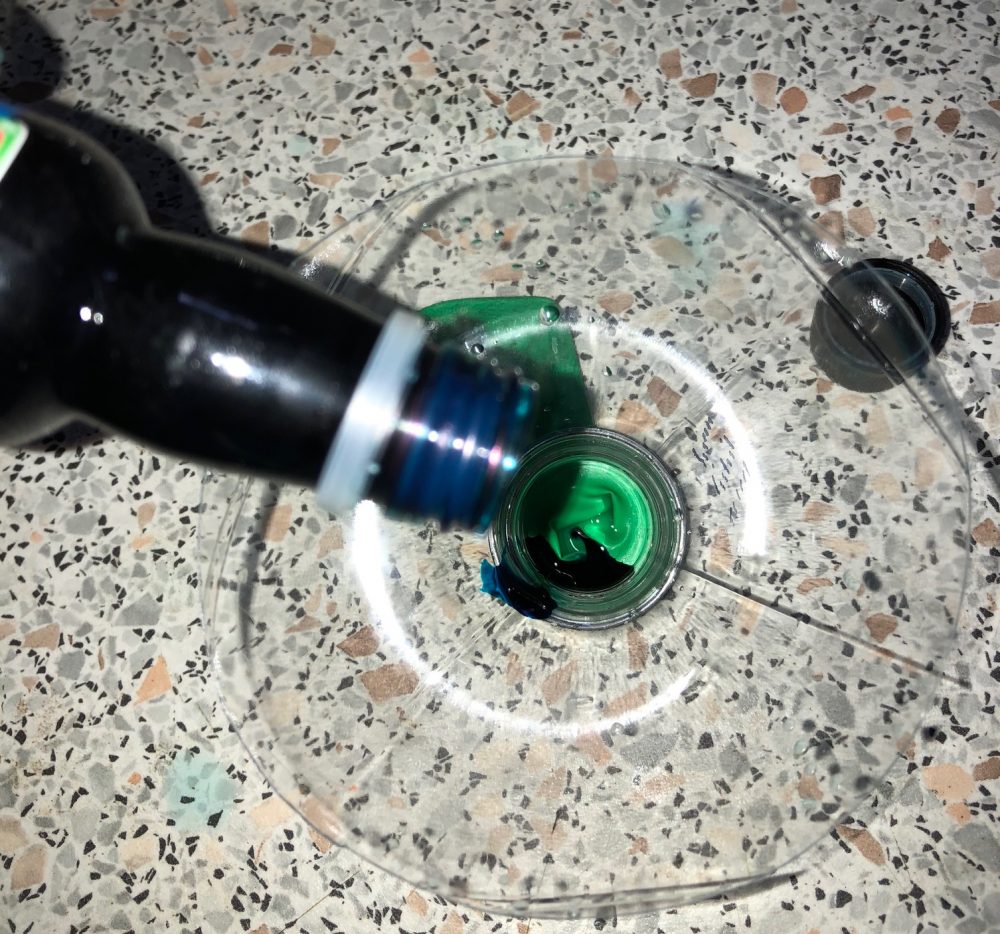
Put 1/2 a drop to 1 drop of food colouring into the balloon – you don’t need very much colouring at all.
Step 2:
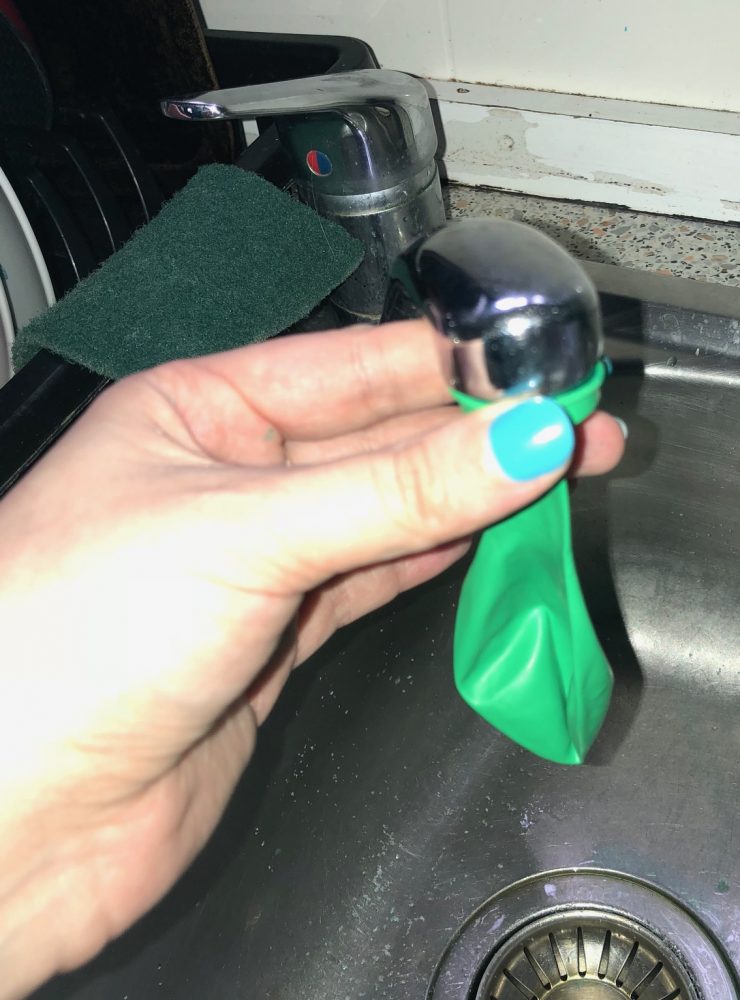 Carefully take the balloon off the end of the funnel and stretch it over the tap. Turn the water on slowly while you hold the balloon on the tap – just like you would if you were filling a water balloon.
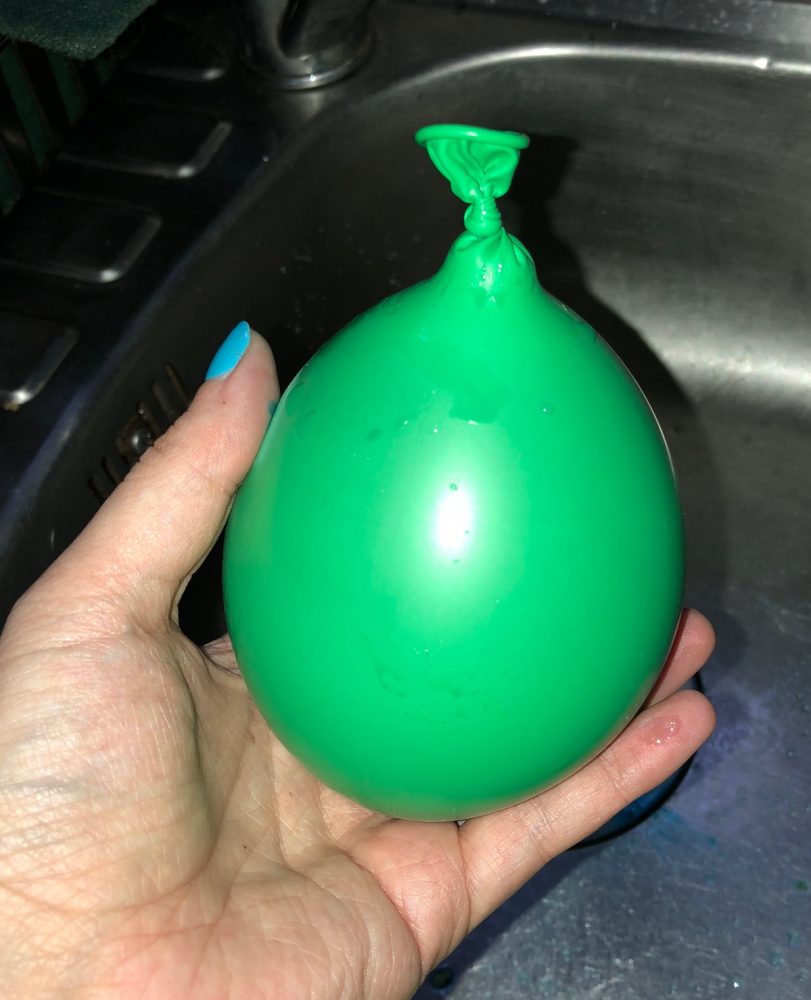
When the balloon is as big as you want it, carefully take it off the tap holding the neck of the balloon with your other hand – this will stop the water escaping. Tie your balloon off with a knot (or get someone to help you do so).
Step 3:
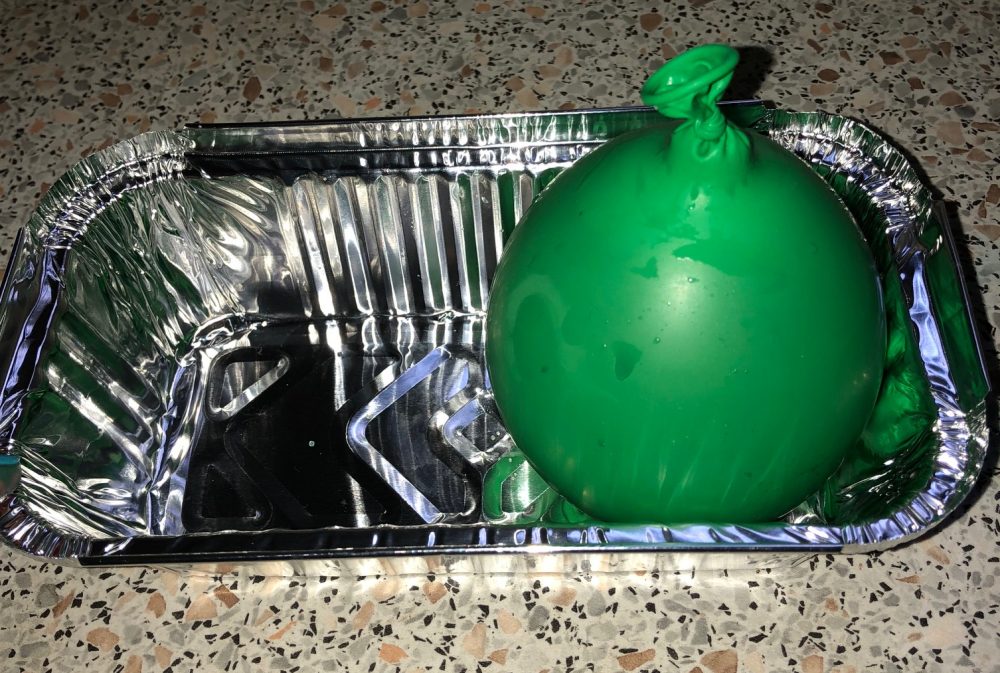
Put the balloon in a container with a flat bottom.
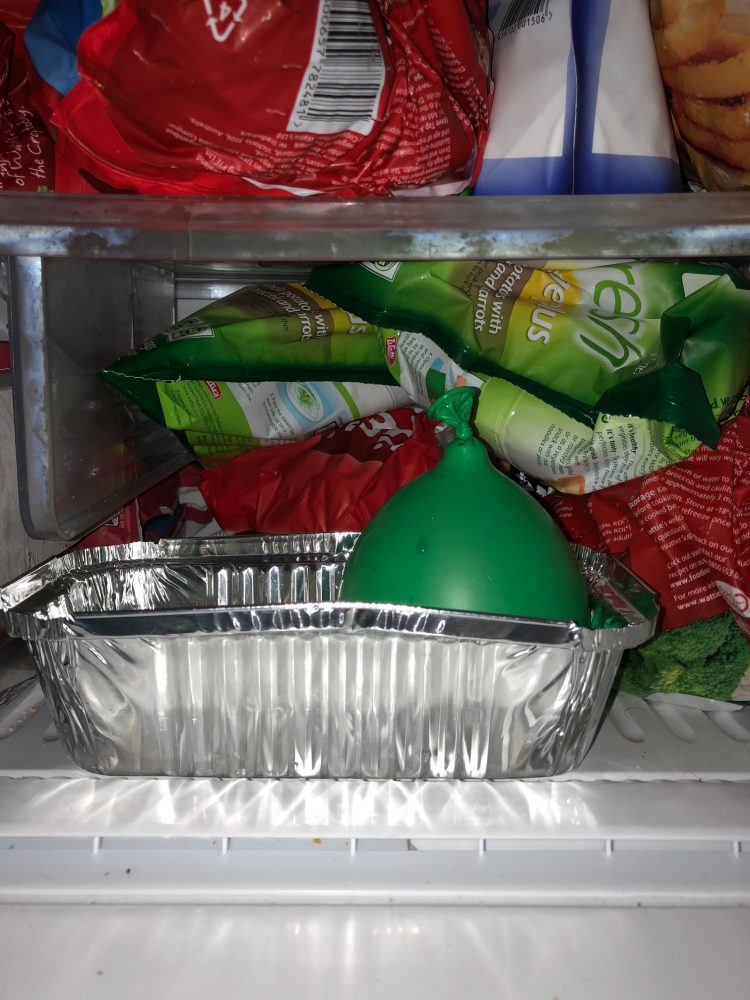
And put it into the freezer. Leave it to freeze for at least one full day.
Step 4:
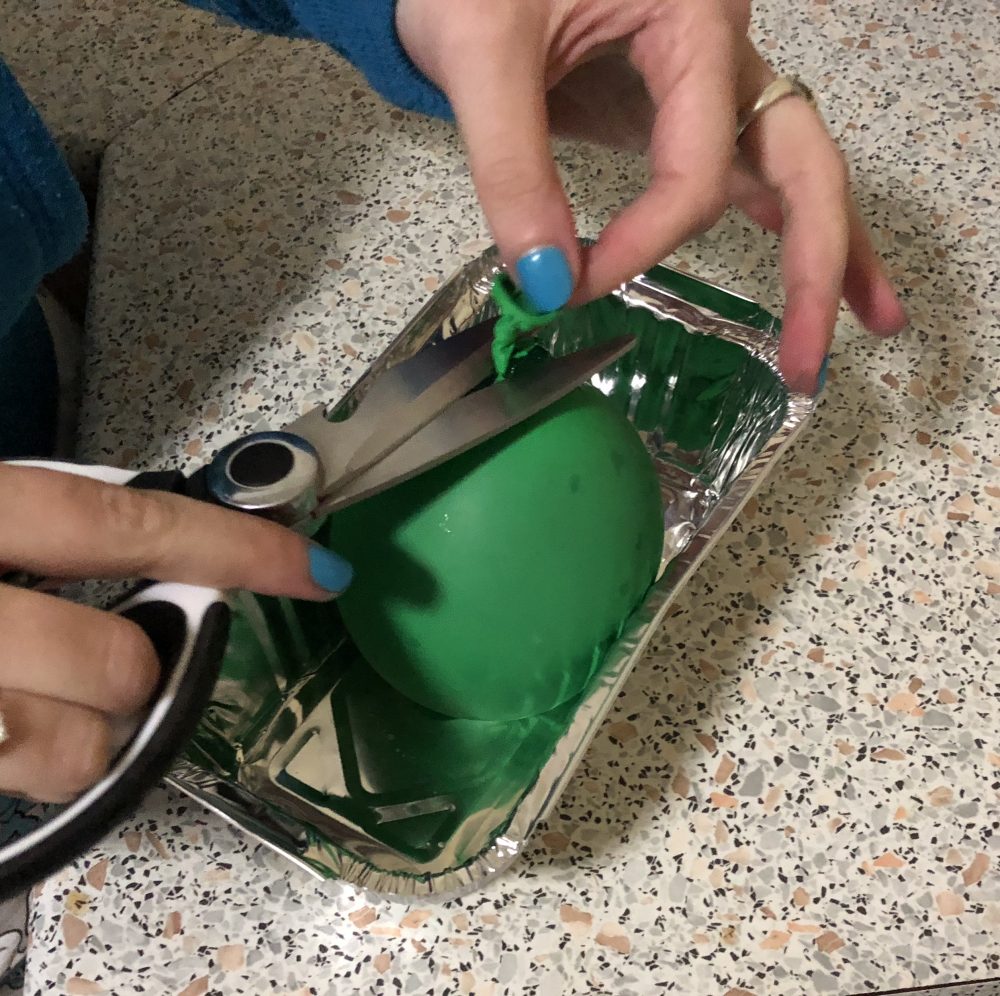
When the balloon is well frozen (like glaciers), take it out of the freezer. Cut the knot off the balloon, and take it off your ice.
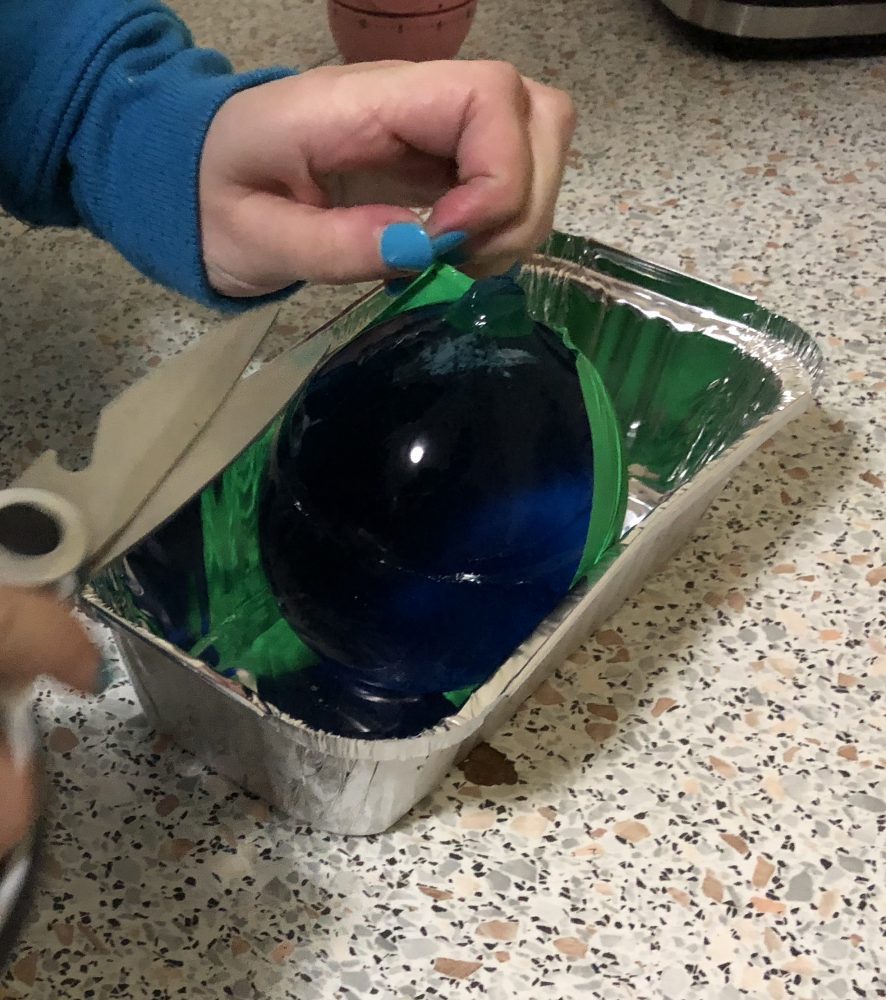
Step 5:
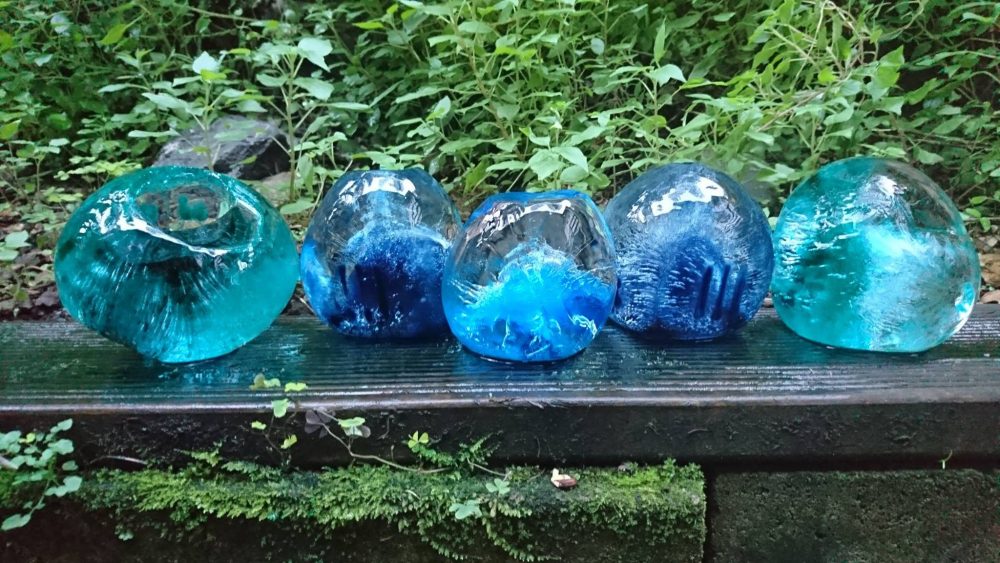
Celebrate the beauty of our glaciers by displaying your blue ice art. Experiment with different shades of blue with food colouring mixing. Different ratios of dye and water will also change the results!
